Our migration to monorepo: Part 2
This is part 2 of a two part blog post on our migration to the polyrepo. If you haven’t yet read part 1 and want some more context, you can find it here.
In part 1 of this blog post, we discussed how our original polyrepo led to complicated workflows which hindered engineering productivity, why we believed that a monorepo would mitigate these problems, and the potential downsides of switching to a monorepo.
In this second part of the blog post, we’ll review how we actually executed the migration to a monorepo without losing any commit history—namely, how we managed to consolidate all our code that was previously scattered across repos into one giant repo with a centralized commit history—and elaborate on the benefits of the migration.
A simplified example
After weighing the pros and cons of a polyrepo vs a monorepo, we decided to migrate to a monorepo. But how would we port all code into one central repo while keeping commit history? In this section, we’ll share the series of steps we followed to consolidate our code without losing its history.
Consolidating code while retaining commit history
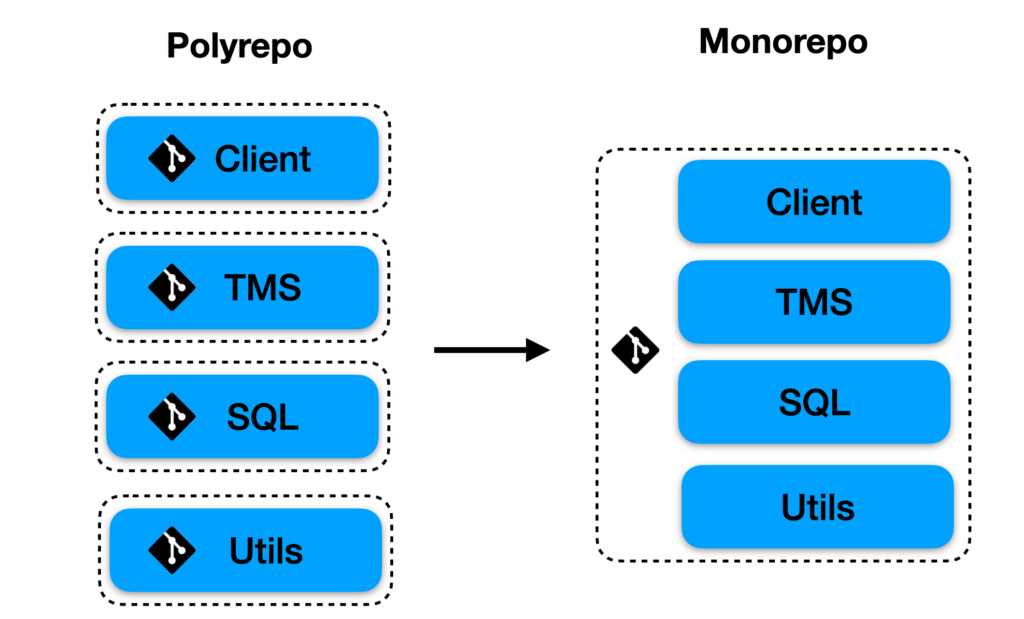
While our original polyrepo contained many repos, for the purpose of this explanation we’ll assume that we originally had three distinct repos named client, sql, and frontend. We want to consolidate these three repos into a monorepo, whose structure would look something like this.
On the monorepo branch of our opaque-client repo, we migrate to the following structure:
Note: By default, mv src/path/* dst/path/ won’t move hidden files (i.e., files and directories beginning with .). As a result, we had to make sure we additionally ran mv src/path/.* dst/path/.
Next, we initialize the new monorepo opaque on GitHub:
Then, for each repo repo we want to add to the monorepo, we
- Add
repoas a new remote in the monorepo repositoryopaque - Fetch the contents of the new remote
- Merge in the contents of the new remote. This step enables us to copy all of our Opaque Client’s code into the monorepo while retaining its commit history.
To continue our example from before, here’s what adding the opaque-client repo to the monorepo looks like:
After doing the above, the opaque directory has the following structure:
Finally, after following the same steps for the other repos, our new monorepo looks like the following:
The last step is to merge all of the .gitignore‘s into one. Simple enough!
And just like that, our monorepo contains all the code across our entire codebase and its commit history!
Benefits of the migration
The monorepo migration immediately streamlined our workflows and simplified our codebase. As mentioned in part 1 of the blog post, we initially faced a number of issues due to the polyrepo structure:
- A single change could require multiple, synced, PRs
- Our release process was cumbersome
- Our CI/CD pipelines required lots of duplicated code
- The process for building documentation was convoluted as a result of the documentation source being scattered across multiple repos.
See part 1 for more details on each of these problems. The monorepo mitigated all of these issues, as explained below:
- Since all code is stored in a single repo, only one PR is ever necessary: this drastically simplifies the process of submitting and testing any changes. In the following section, we give an explicit comparison between the old and new workflows to demonstrate how drastically the monorepo simplified things.
- Having one repo that contained all our code enabled us to drastically simplify our release process. Instead of having to create a release and a tag in 7 different repos, we can now create a release by interacting with only one!
- Having all components in the same repo allowed us to centralize all of our testing/deploying code, vastly simplifying maintenance and improving readability. For example, the code for running build tests across all of our services went from over 1,500 lines of code to less than 500.
- Our one monorepo contained the documentation source across our entire codebase, making the documentation build much simpler.
Concrete walkthrough
Let’s go through an explicit example of how this actually affected an engineer’s workflow.
Let’s say that one of our back-end engineers is adding an additional parameter to the Hash function in our cryptography library. To do this, they will need to modify four modules in our backend codebase:
client: The Opaque client application that enables users to remotely interact with Opaque’s cloud servicestms: The Trust Management Service, an enclave-based cloud service that manages credentials and keys and facilitates multiparty collaborationsql: Opaque SQL, our secure analytics engine running within and on top of enclavesutils: A C++ library that contains useful helper functions for cryptography and remote attestation
Let’s compare what the engineer would have to do with our original polyrepo to what they would have to do with our new monorepo.
Old workflow:
- Modify the
Hashfunction in theutilscodebase and open a PR into theutilsrepo. - Modify any calls to
Hashin theclient,tms, andsqlrepos and open three new corresponding PRs. - Test these changes manually (since our automatic CI doesn’t know the git references to the various PR branches): launch a cluster, SSH into each machine, checkout the correct branches of each service, re-build these components, and finally run tests.
- After testing is complete, merge each of these PRs. Note that automatic CI will fail unless all PRs are merged simultaneously.
- If a mistake was made when manually testing, then it won’t be caught until all of the PRs are merged, at which point the ecosystem will be in a broken state; roll-back the latest commit on each repo and try again.
New workflow:
- Modify the
Hashfunction in theutilsdirectory as well as any calls toHashin theclient,tms, andopaquedirectories and open a single new PR. - CI tests will run automatically as all changes are immediately available.
- Merge once all tests pass
As you can see, the new workflow is drastically simpler than the old one!
Conclusion
In this part of the blog post, we shared how we managed to centralize our entire codebase that was originally scattered across multiple repos into a monorepo. We then discussed how the monorepo simplified many of the complexities inherent in our original polyrepo structure, and lastly walked through an example to detail the differences between working with a polyrepo and working with a monorepo.
Thus far, we’ve been incredibly happy and satisfied with our monorepo—our lives (and code) have been drastically simplified.